
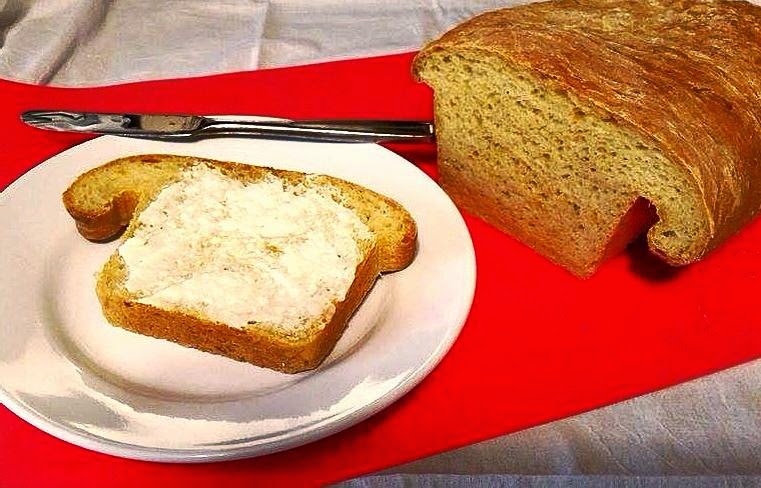
Sometimes, though, I want a change from my morning oatmeal. I love to use leftover oatmeal as the basis for bread. Three cups of leftover oatmeal will give you two large loaves of some of the best bread available. I'll confess that sometimes I go out of my way to make a batch of oatmeal especially to use for this bread. Toast made from this bread is absolutely the best!
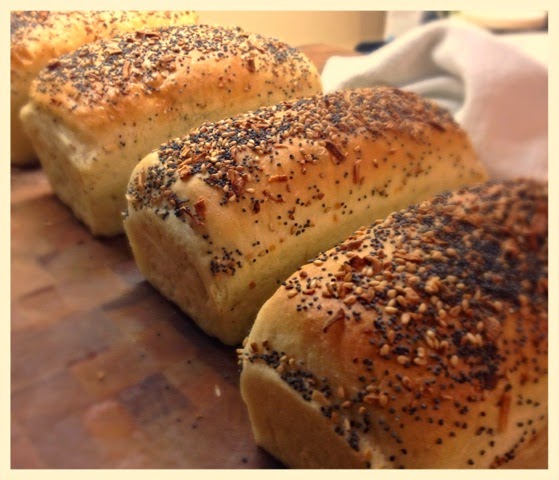
Steel Cut Oatmeal Bread
by Maurita Plouff blogging at Get the Good Stuff!
Makes 2 loaves
3 cups leftover cooked oatmeal (I like to use Bob's Red Mill Steel Cut Oats)
2 cups warm water
1/4 cup honey
2 teaspoons instant yeast
2 teaspoons kosher salt
4+ cups all-purpose OR bread flour
If you make oatmeal especially for the bread, let it cool until just a little warm to your hand. If you're using leftover oatmeal, warm it up a bit and stir it around, so it's not stone cold and has no hot spots. Measurements are approximate, and you should feel free to add a bit more of this, or a bit less of that, to your personal taste.
In a large mixing bowl, stir together the oatmeal, water, honey, and yeast; stir i.e. enough to break up the oatmeal. Let it sit on the counter for 15 minutes or so.
Add the salt and 2 cups of the flour, and mix very well. Don’t be afraid to beat it hard; you’re developing gluten that will help the bread rise. Add additional flour, mixing well after each addition, until the dough just comes together – it may take 2 more cups, or it may take a lot more, it depends on the weather, the humidity, and the moisture content in the leftover oatmeal.
When the dough will just hold together in a shaggy mass, turn it out onto a well-floured surface. Knead, adding more flour as needed, for 2 to 3 minutes. Cover with a tea towel and let the dough rest for 20 minutes or so.
After the dough rests, knead it another 5 minutes, adding more flour as needed. It takes a bit of experience to know when you’ve kneaded enough. It will no longer be sucking up flour, the surface will be smooth and a bit less sticky, and it will feel alive under your hands.
Put the dough in an oiled clean bowl, turn it so that all surfaces are greased, then cover with a tea towel and let the dough rise until doubled in bulk - 1 to 2 hours.
Turn out onto a floured surface and gently punch it down. Shape into 2 loaves, put into greased bread pans, and let rise, covered with a tea towel, until doubled in bulk again.

Let the bread loaves cool for at least an hour before slicing.


